
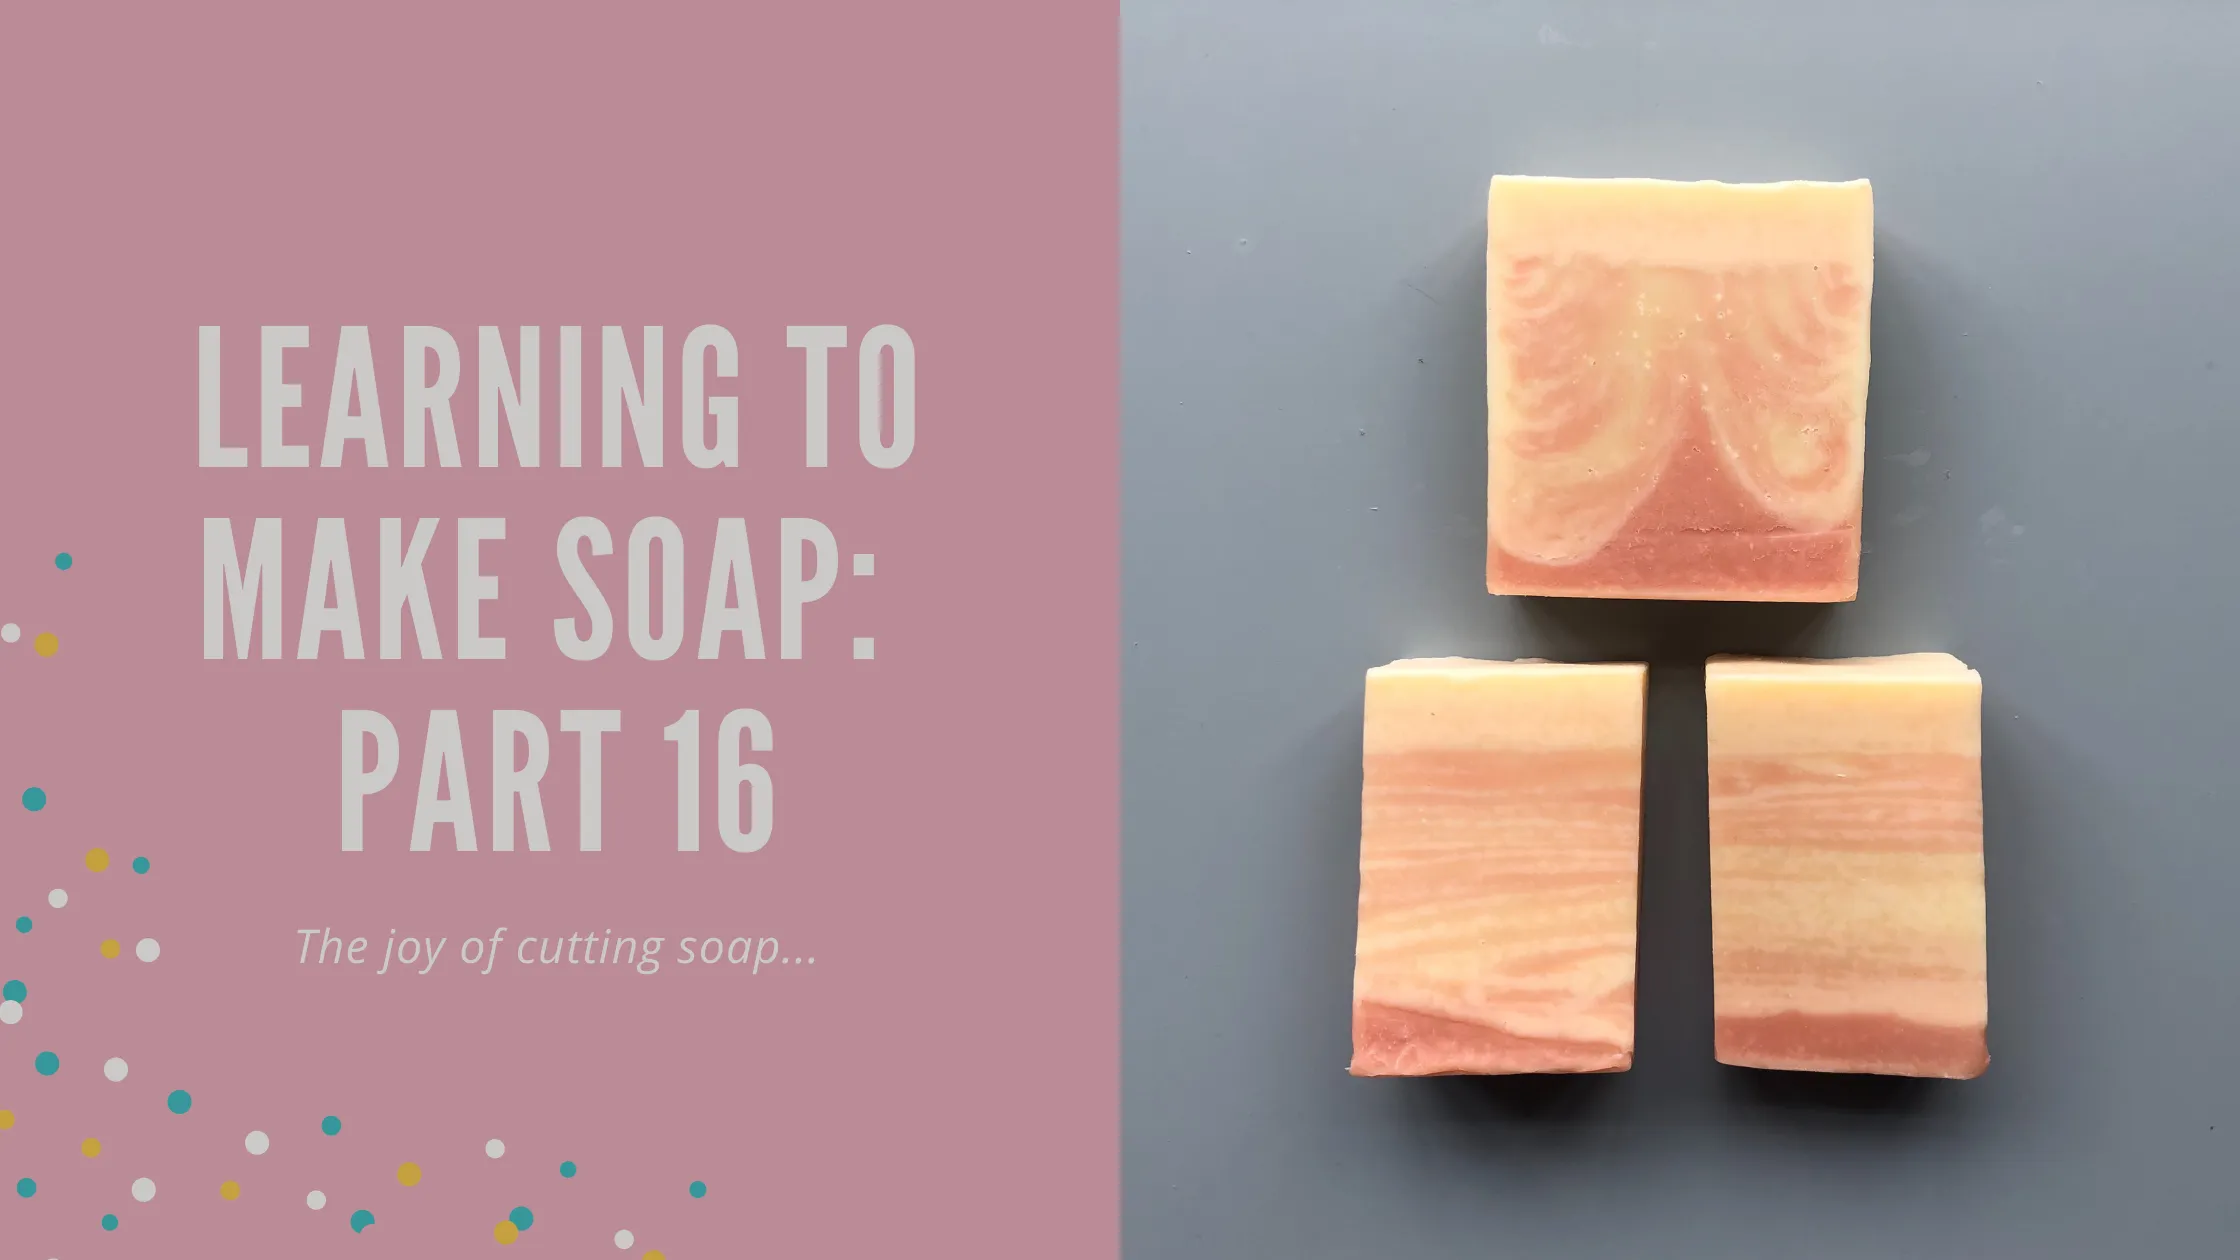
Learning to Make Soap: Part 16
The joy of cutting soap
Now that I have sorted out my natural colourants the next thing I needed to do was to decide on a design for each of my soaps! I am planning on launching with 6 soaps in my core collection and then my two festive/winter soaps. So that is a lot of soaps to design and has basically resulted in me watching a lot of soap videos for inspiration of what I wanted my soap to look like. I already know that I want to include a secret feather swirl, and I really like the simplicity of the lemongrass and bergamot soap that has a yellow layer that is roughed up a bit to add some interest with plain soap batter containing poppy seeds on top. So that is 2 down, just 6 to go!!
I was trying to find designs that wouldn't be too time consuming - and that is when I started to get obsessed with line pours. They seem fairly straightforward (relative to some of the more complicated designs) and there were lots of options for how you could include it in your soap design.
So for my first attempt at a line pour I used madder root infused oils to colour a portion of the soap a dusky pink alongside the plain batter. I wasn't completely sure how thick the soap batter should be, so I played it safe and kept it very fluid (just at emulsion) as I could always thicken it up. My plan was to put down a layer of madder root coloured soap, then do a line pour as the next layer with pink lines in a plain batter and then just finish with a plain batter layer with a textured soap top - simple!!
But what I did in reality was to pour the first layer of madder coloured batter into the mould when it was too fluid. That is ok I could just leave it for a little while to set up before doing the line pour. But that is not what I did. For reasons that are not entirely clear to me I tried to do the line pour onto the madder root layer when it was still really fluid! The result was that the line pour layer completely displaced the lower pink layer! Not quite what I wanted but it still could be interesting?!
The line pour itself was a lot of fun to do and pretty straightforward. I poured the madder root coloured batter into a jug already containing my plain soap batter at two points (essentially at 12 and 6 on a clock face). Then I took a chopstick and swirled it around once in the jug. Then I poured the soap batter down the long edge of the mould, against the wall, moving the jug up and down the length of the mould edge pretty quickly. For this design I poured the swirled soap batter down both of the long walls of the mould.
Luckily by the time I came to pour my last layer I had learnt my lesson and I left the line pour layer to set before I poured the top layer of plain batter. However, having said that, what I also should have done is stick blended this batter a little more before adding it to the mould because it was still fairly fluid and I was planning on doing a textured top. Unfortunately this didn't happen as I ran out of time as I had to get the soap in the oven for CPOP and gel.
To be honest I was in a rush, I had started making the soap a lot later than I intended and I didn't have time to wait about for layers to set. Also I knew the oven was needed (you know- for food) so I was trying to give the soap as much time in the oven as possible. Sadly it had less than an hour in the oven before I had to take it out. So in reality I don't think this soap went through gel phase at all in the end!
So- onto the cut! I was really excited about cutting this soap - there is something really joyful about cutting a soap that was poured using a technique you haven't done before. You have no idea if it has worked or if it has turned out how you had imagined it would!
Now the best bit about line pours (and this was one of the reasons I was really keen to give this technique a go) is depending on how you cut the soap you could get a different design - how cool is that?
So I cut the soap as I would do usually for a loaf of soap, parallel to the short edge and you can see how the soap turned out below.
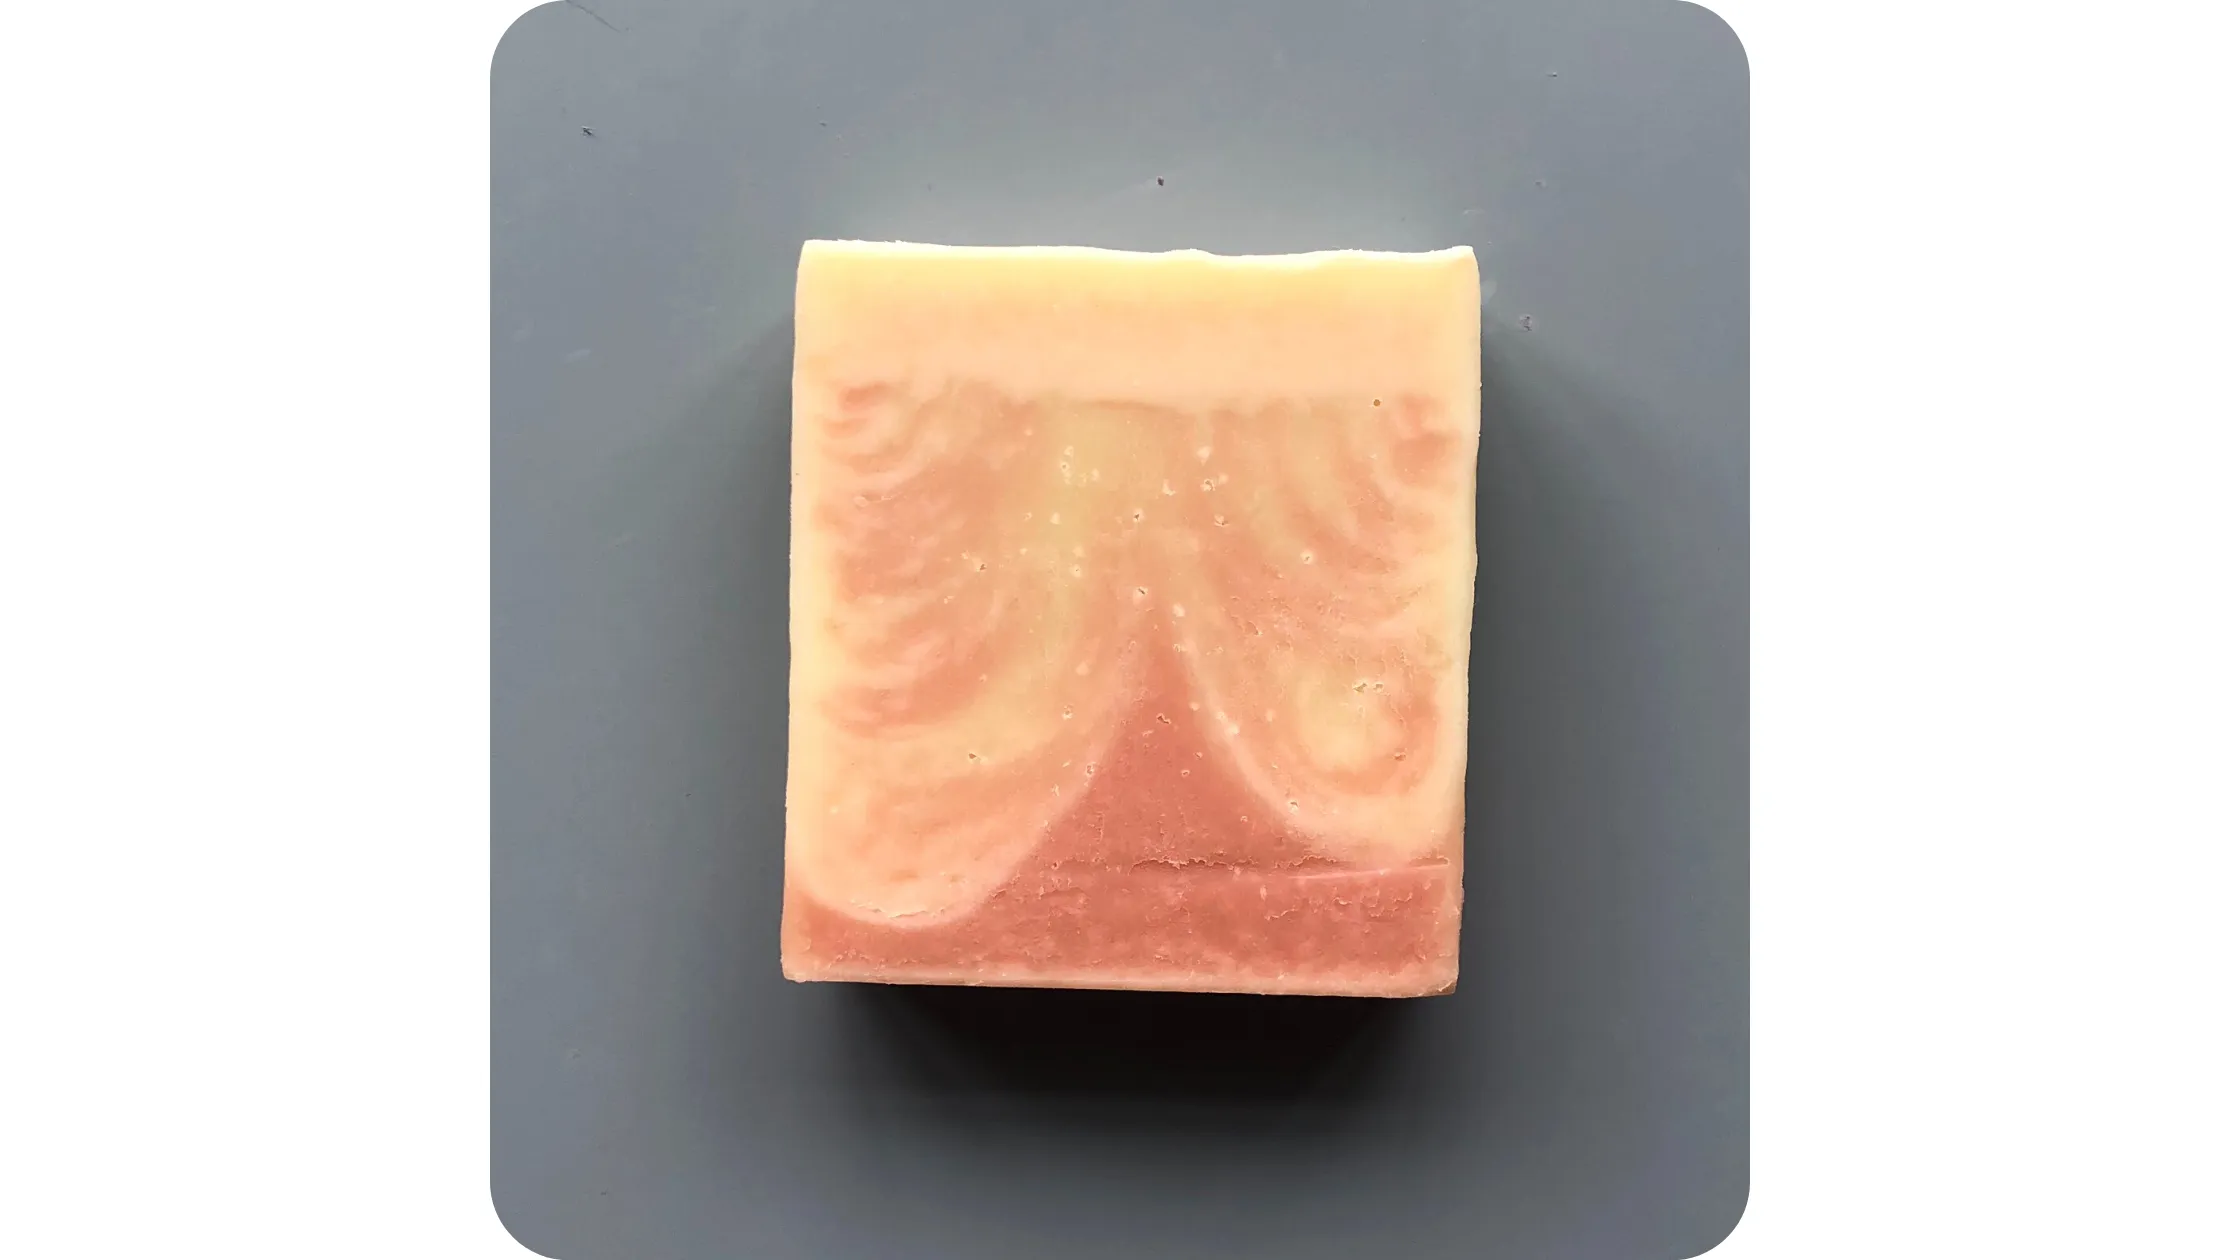
I really like it - you can clearly see where the second layer has pushed the bottom layer up into a peak (because I poured down both walls), but it still looks great and I really like how the line pour looks. And if I had managed to texture the top so there was a textured peak in the middle I think that really would have been a lovely bar of soap!
So now for the alternative way to cut this design - if you cut it at 90 degrees (parallel to the long edge) what you get is a soap with straight lines running horizontally across it - well that was the theory - and would you believe it that is exactly what I got! I really love the look of this bar too!

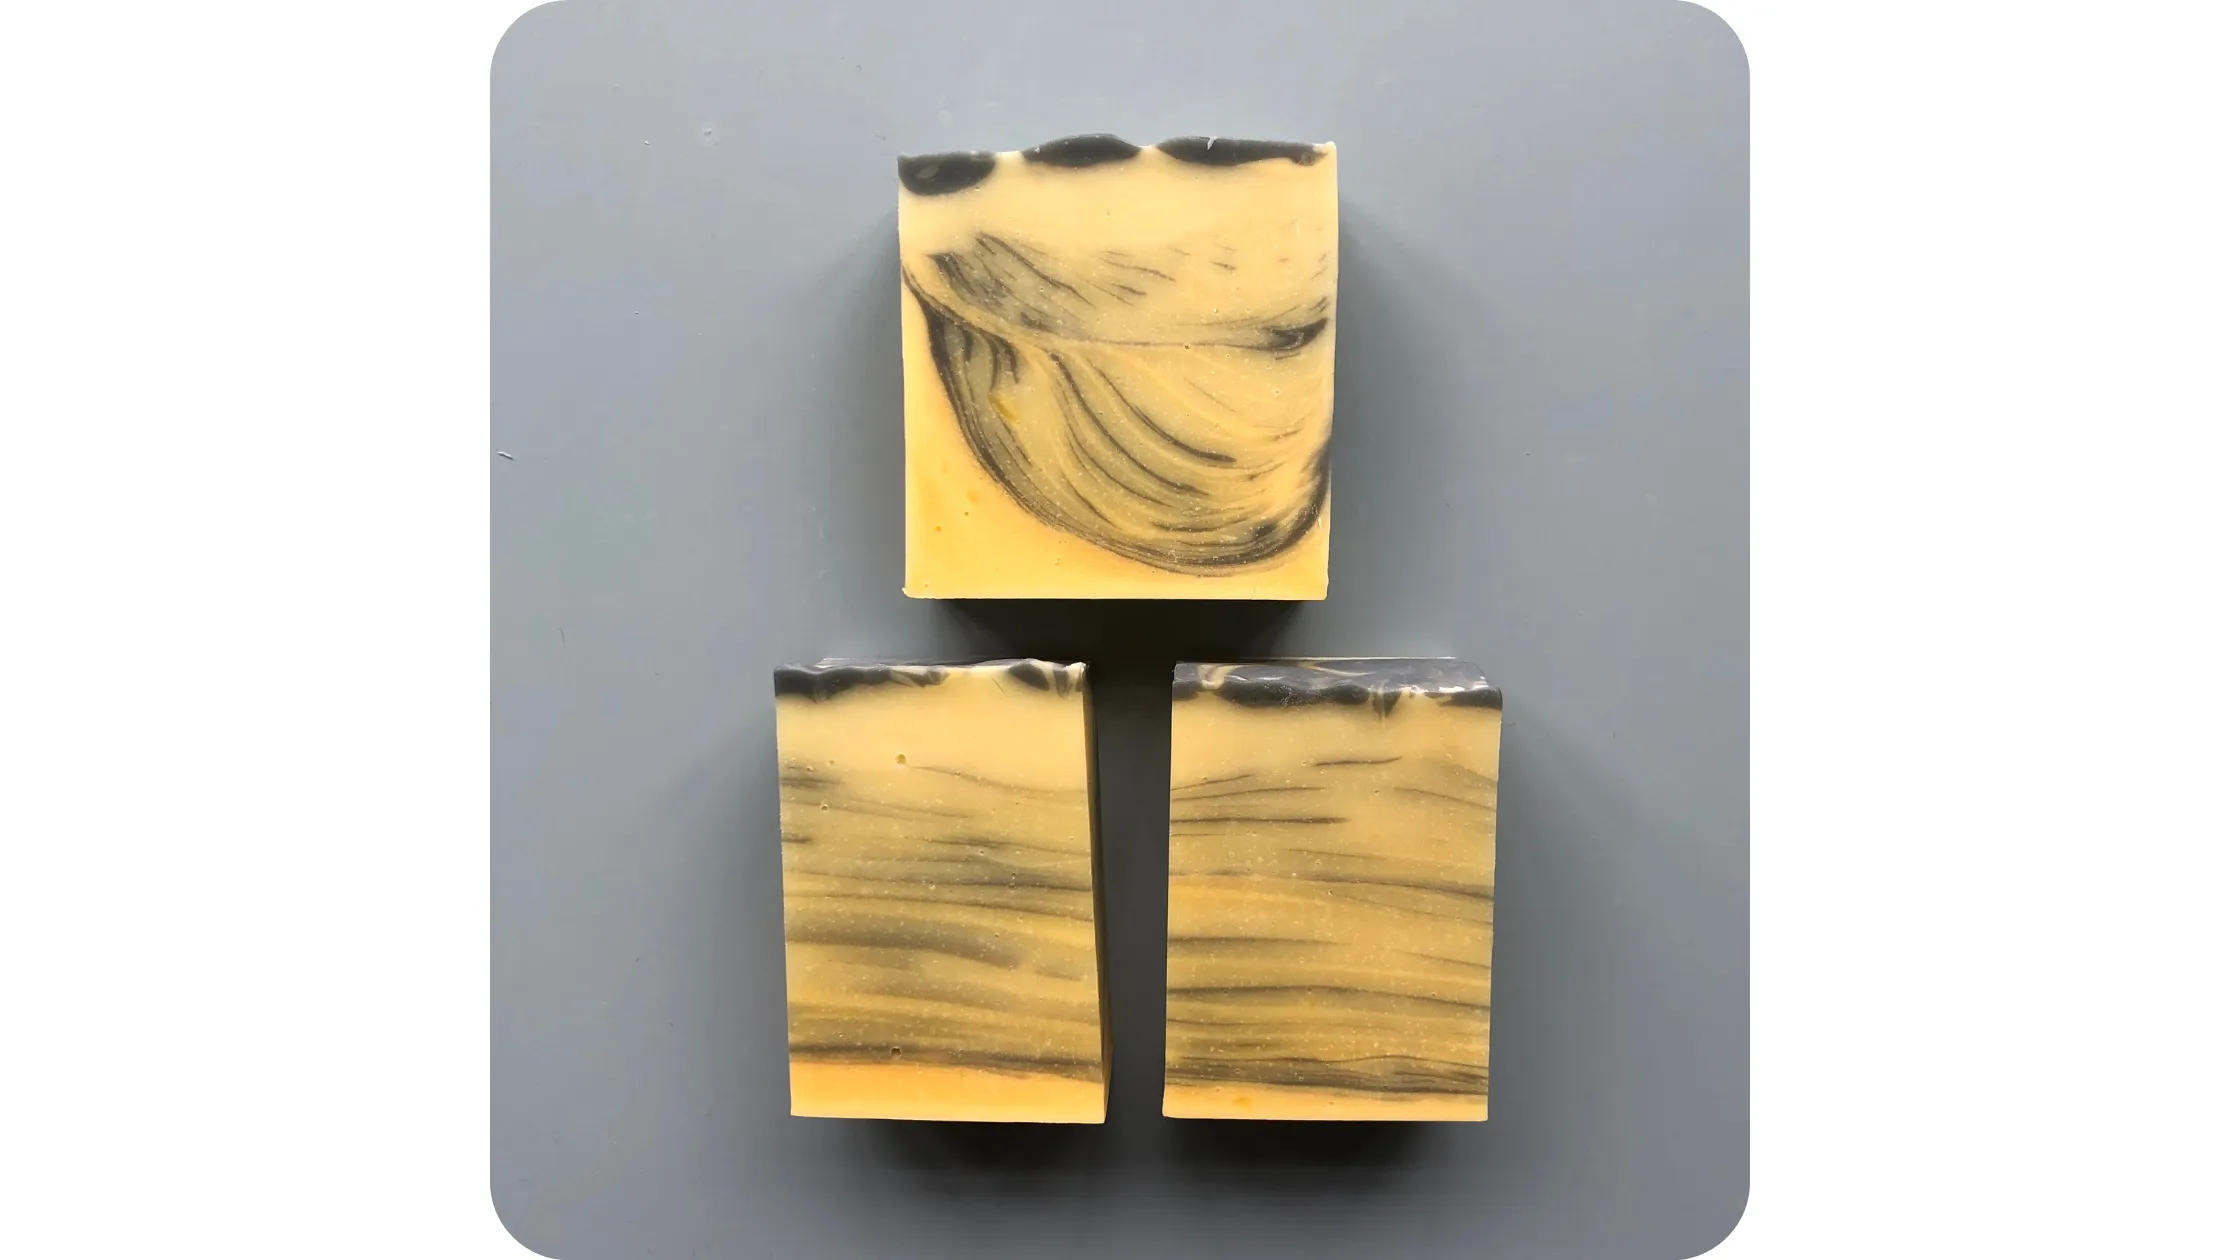
In fact I enjoyed this technique so much I decided to make another loaf the next day. This time I used annatto seed infused oil to colour the soap yellow and activated charcoal for a grey line and I only did the line pour down one side of the mould because I was interested to see how that would look. And I learnt from my first line pour and made sure the batter was a little thicker. Again it was really fun to pour and I managed to get the soaps in the oven for a good 6 hours.
As before I cut the bars the normal way and at 90 degrees. I really love them. The yellow isn't that distinct as the essential oils used in this bar turned the plain batter a little yellow too, reducing the contrast- but I love how the grey lines look, for both cuts! What do you think? Do you prefer the normal way to cut or the cut at 90 degrees?
I think I might be a little bit obsessed with this type of pour - maybe because I have a penchant for a Bretton top!! Anyway I still need to practice a bit more and decide exactly how much of each colour to include- but this is definitely going to appear in my collection - possible one of each way to cut - but we will have to see.
Right I am off to finish designing the other soap bars!
Take Care Kelly xx
...
I am Kelly Townsend and this is the Small Kindness Blog. I am a scientist, a bee lover, a rewilding obsessive, and I want to spread Small Kindnesses through the medium of soap. Follow me on Facebook, Instagram and Twitter for your daily dose of kindness (as well as to see how the soap making is going!)